
Steps to Take When Storm-Proofing Your Roof
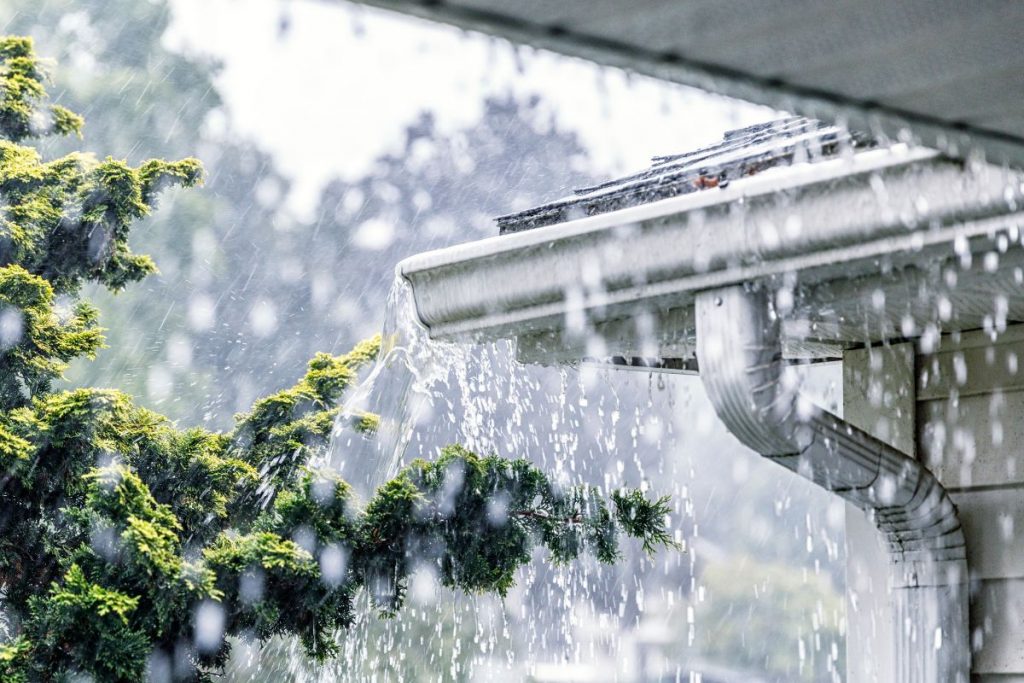
Your roof is built to protect you against the elements, especially during bad weather. However, there are natural occurrences that are just too powerful for your roof to withstand. Two examples of these are hurricanes and storms.
These can cause serious damage not only to your roof but also to your home’s interiors if the event causes a leak and other structural issues. You can minimize the possibility of sustaining damages with the help of storm-proofing your roof.
Not sure how to proceed? Check out the steps you can take on Storm-Proofing Your Roof and improve your home’s safety.
How to Storm-Proof Your Roof
- Assess Your Roof
The first thing you need to do is to take a look at the current state of your roof. Homes in hurricane-prone areas deal with strong winds and storm a lot more, especially during hurricane season. This is why you should look for signs of damage that you need to address.
During your assessment, pay particular attention to any cracks, dents, discoloration, and loose parts. This can indicate potential issues that you should mind as you go along.
You might want to work with professional roofers to ensure that every single issue is found. Plus, this is the safest choice as they are equipped to perform the job with minimal problems.
2. Decide What You Want to Do
After checking for issues, you need to consider your choices. You want to make sure that you pick materials that are better and sturdier to create a roofing system that is an upgrade from your current one.
Remember that several factors play important roles in storm-proofing your roof. You need to factor in the roof shape, slope, and materials, just to name a few.
If you want to protect your home, you want something with good aerodynamics. So, you should pick a shape that minimizes wind impact such as an octagonal or a hexagonal one. Moreover, four slopes can work to your advantage.
A pressure strategy can provide better wind protection. In addition, multiple panels can improve this effect. Other factors you should consider include getting new materials and upgrading your roof membrane.
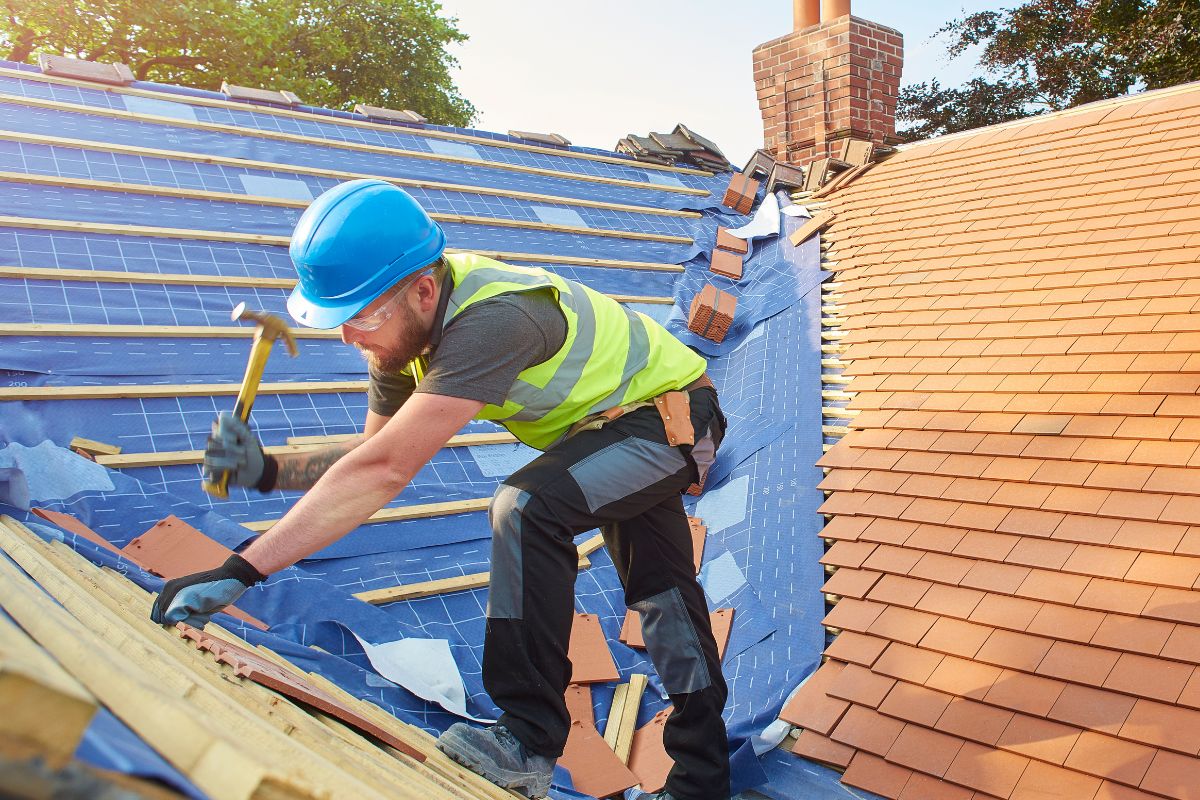
3. Upgrade Your Material
Once you decide what to do, you can go ahead and pick the materials you want to use for your new stormproof roof. You want to go with ones that minimize hazards during storms and hurricanes. So, make sure to avoid shingles and tiles as they can fly off with wind impact.
What you want to go with are materials that are installed in panels like metal. Metal roofs come in different types and colors, giving you a wide variety of choices. They can even come in various designs. These are great if you want a sustainable and durable material.
4. Install Storm Proof Underlayment
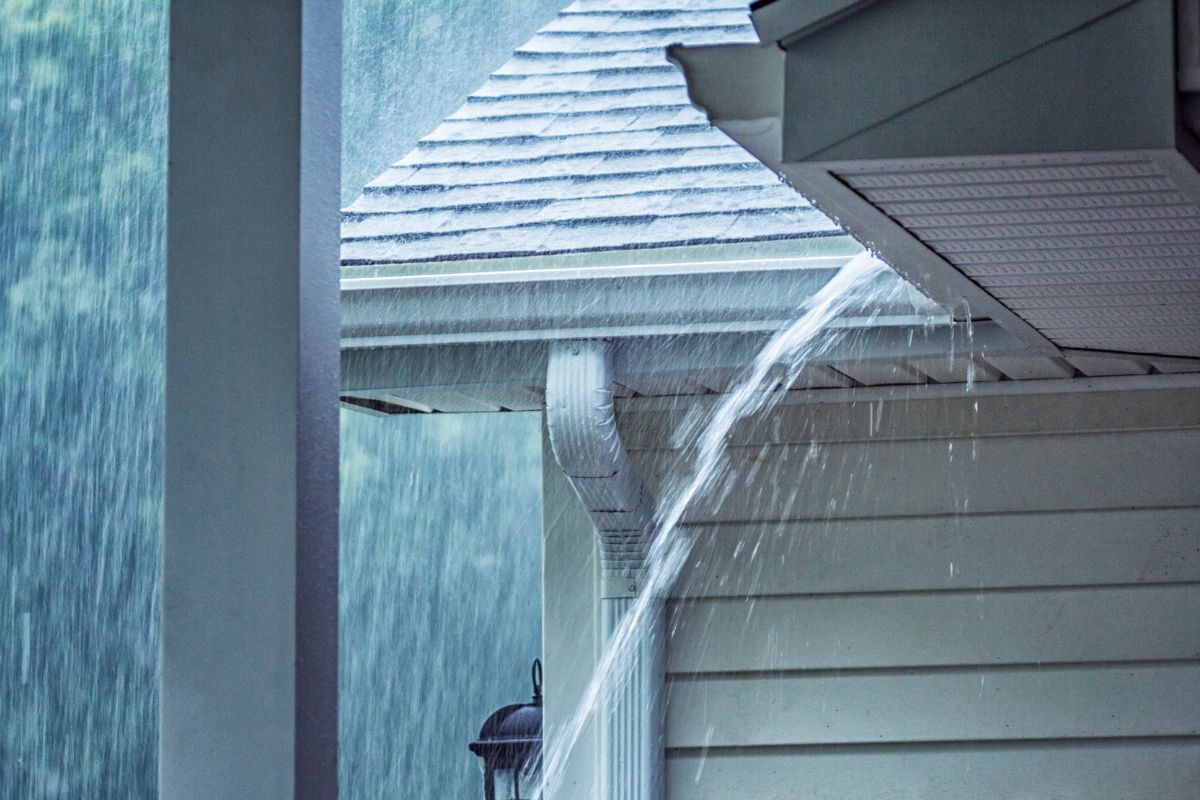
The underlayment plays a huge role when it comes to storm-proofing your roof. What you should know is that high-wind impact can still lift your panels, even when they do not fly off.
You want to make sure that your roof’s underlayment can protect your home against water seepage. This can minimize leaks, which can result in rots and more.
Installing underlayment can be complicated, especially if you are inexperienced in roofing. You should go and call an expert roofing contractor to perform the job for you.
The Bottom Line
Storm-proofing your roof can be one of the best decisions you can make if you live in a hurricane-prone area. With these tips, you can start with the project and make your home the safest place you can be in case of a natural disaster like storms and strong winds.