Understanding Roof Flashing and Its Role in Leak Prevention

Roof flashing plays a vital role in protecting your home from water damage. It’s a small but essential component of your roof system, designed to prevent leaks where the roof meets other structures. Whether you’re building a new home, replacing your roof, or repairing an existing one, understanding flashing and its function is key to maintaining a durable, leak-free roof.
What Is Roof Flashing?
Roof flashing is a material, typically made of metal (aluminum, copper, or galvanized steel), that is installed around certain roof features to create a watertight seal. It directs water away from vulnerable areas of the roof, such as joints, seams, valleys, and intersections with chimneys, vents, or skylights. Without flashing, these areas can easily become entry points for water, leading to leaks and significant damage over time.
Key Types of Roof Flashing

- Step Flashing
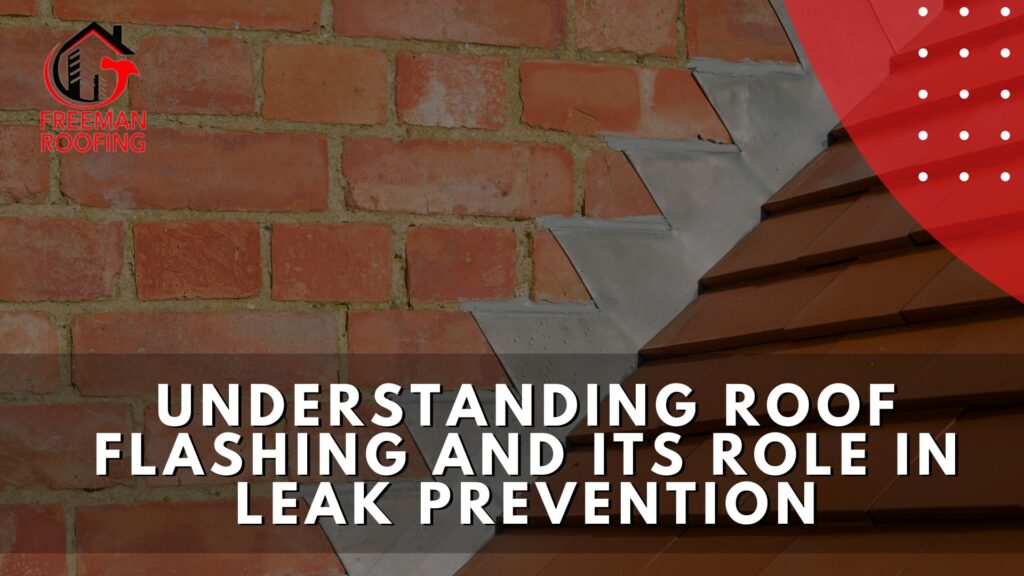
Used around walls or vertical structures, step flashing is installed in overlapping layers, like steps, to guide water away from the seam between the roof and the wall. It’s most commonly used around chimneys or dormer windows. - Continuous Flashing
A single piece of metal flashing, continuous flashing is used along the edges of walls or eaves. It’s installed in one long, continuous strip to provide full coverage, offering protection along the length of the joint. - Valley Flashing
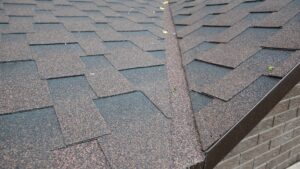
Valley flashing is placed in roof valleys—where two roof sections meet—ensuring that water is channeled off the roof properly, especially during heavy rain. - Chimney Flashing
Chimney flashing is designed to seal the gap between the roof and chimney. It often consists of step flashing combined with a continuous base flashing to prevent leaks around the chimney. - Skylight Flashing
Skylights can be vulnerable to leaks, especially at the edges. Flashing around skylights creates a seal to prevent water from entering the home through the skylight frame.
Why Is Flashing Crucial for Leak Prevention?
Flashing is installed in areas that experience higher water flow, where shingles alone won’t provide adequate protection. These include places where different roof planes meet, around penetrations like chimneys, vents, and skylights, and along the roof’s edge. Without flashing, water can infiltrate the roof at these intersections, causing leaks that can go unnoticed until significant damage occurs.
The importance of roof flashing lies in its ability to:
- Redirect Water: Flashing directs water off the roof and away from sensitive areas to prevent pooling or seepage.
- Create a Seal: Flashing forms a protective barrier against wind-driven rain, preventing water from getting underneath roofing materials.
- Enhance Roof Lifespan: By preventing water infiltration, flashing helps protect the integrity of roofing materials, reducing the likelihood of rot or mold in your attic.
Signs of Flashing Problems

While flashing is built to last, it can become damaged over time due to weather conditions, aging materials, or improper installation. Here are a few signs that your flashing might need attention:
1. Water Stains or Damp Spots
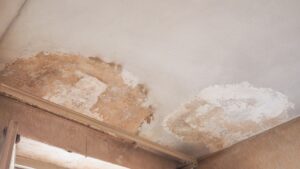
Water stains on the ceiling, particularly near the roofline, are a common sign of flashing failure. If you notice these spots, the flashing around the affected area might be compromised, allowing water to seep in.
2. Rust or Corrosion
Flashing made of metal can rust or corrode over time, especially in areas with heavy rain or moisture. Look for visible signs of rust, which can weaken the flashing and make it less effective.
3. Missing or Loose Flashing
If flashing becomes loose or falls off entirely, water can easily enter these gaps. Check for missing or damaged flashing around chimneys, vents, or other roof penetrations.
4. Visible Gaps or Cracks
Gaps or cracks in the flashing can allow water to seep in, leading to leaks and water damage. Regular inspections of your roof can help identify these issues before they escalate.
How to Maintain and Repair Roof Flashing
1. Regular Inspections
Inspect your roof and flashing at least twice a year—ideally during the spring and fall—and after major storms. This will help catch any issues early on before they develop into leaks.
2. Recaulking and Sealing
Over time, the sealant around flashing can dry out or crack. Recaulking and resealing flashing can help restore its effectiveness and prevent water from slipping through gaps.
3. Repairing Damaged Flashing
If flashing is cracked, rusted, or bent, it should be repaired or replaced as soon as possible. Damaged flashing compromises the integrity of your roof, and ignoring it can lead to more extensive damage.
4. Professional Installation
Flashing should always be installed by a professional roofing contractor to ensure it’s done correctly. Improper installation can result in ineffective protection and costly repairs down the line.
Conclusion
Roof flashing is a small but essential component of your roof that plays a big role in preventing leaks and extending the lifespan of your home. By understanding its function and staying on top of maintenance, you can prevent costly water damage and keep your roof in optimal condition. Regular inspections, prompt repairs, and professional installation are key to ensuring your flashing remains in good working order.
